UPDATE (1/24/2022):
Version 5.0 of Reaticulate is now officially released! This version introduces several major improvements, many of which are reflected in this guide. For a the full changelog, click here.
Please note that some of the screenshots and animations on this guide are from versions prior to 5.0 and thus might look different to what you see.
What is Reaticulate?
Reaticulate is a free script for REAPER that functions as a powerful, attractive, and easy-to-use articulation management system that dramatically speeds up workflow with complex sample libraries. Here's an example of said workflow:
Yes, it really is that easy. (Note: this is only one of many ways to use the script)
What is this guide for?
The following is one of two "quick start" guides I've written about Reaticulate. This particular guide will teach you how to use Reaticulate.
The first step is installing the script, which is a straightforward process covered in detail here.
Once installed, you'll need to either import user-created articulation lists, set up your own, or both. That process is covered in the other guide I've written. After you've worked your way through that (or if you already have banks configured), read on to find out how to put them to use.
When you want to dig into the full details of how what Reaticulate can do, the script's author, Jason Tackaberry (AKA "Tack"), has created an excellent website for that very purpose. There, you will find comprehensive documentation on Reaticulate's features and capabilities.
A Quick Demonstration
The following is a screen capture of a quick sketch I programmed using the Solo Violin library and articulations that were configured in the companion guide mentioned in the section above:
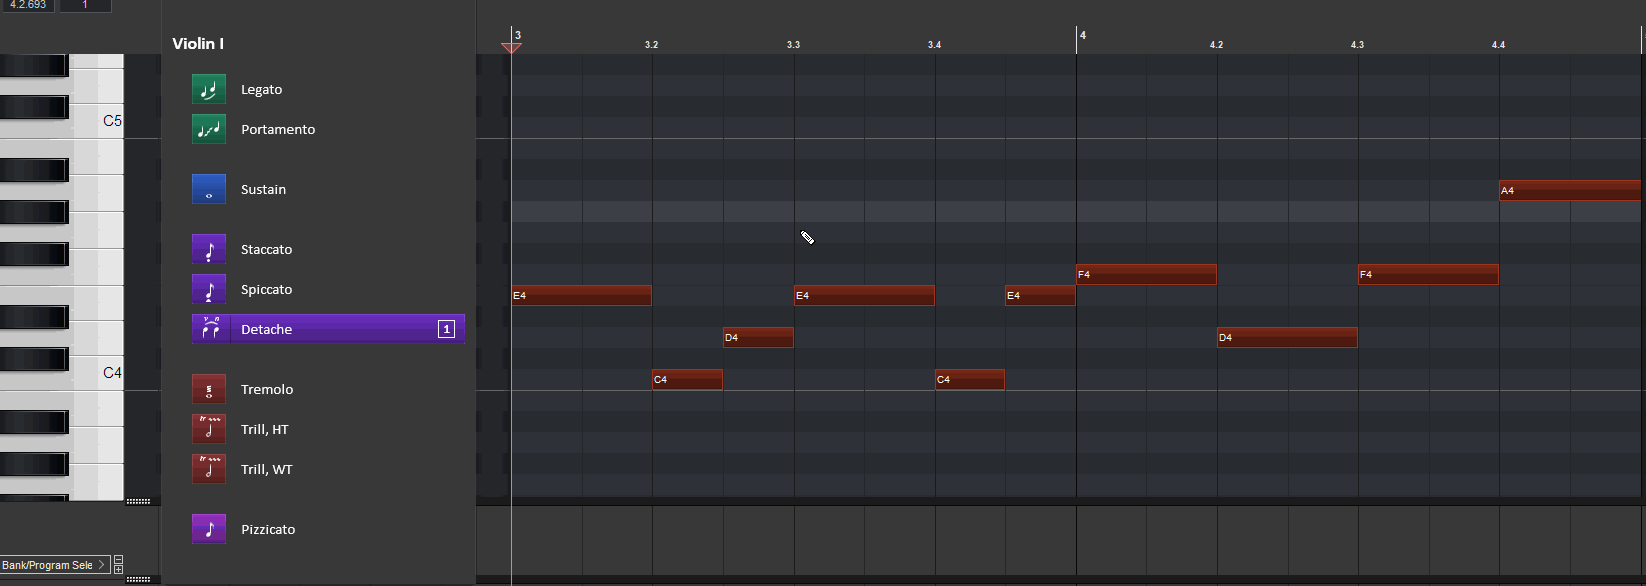
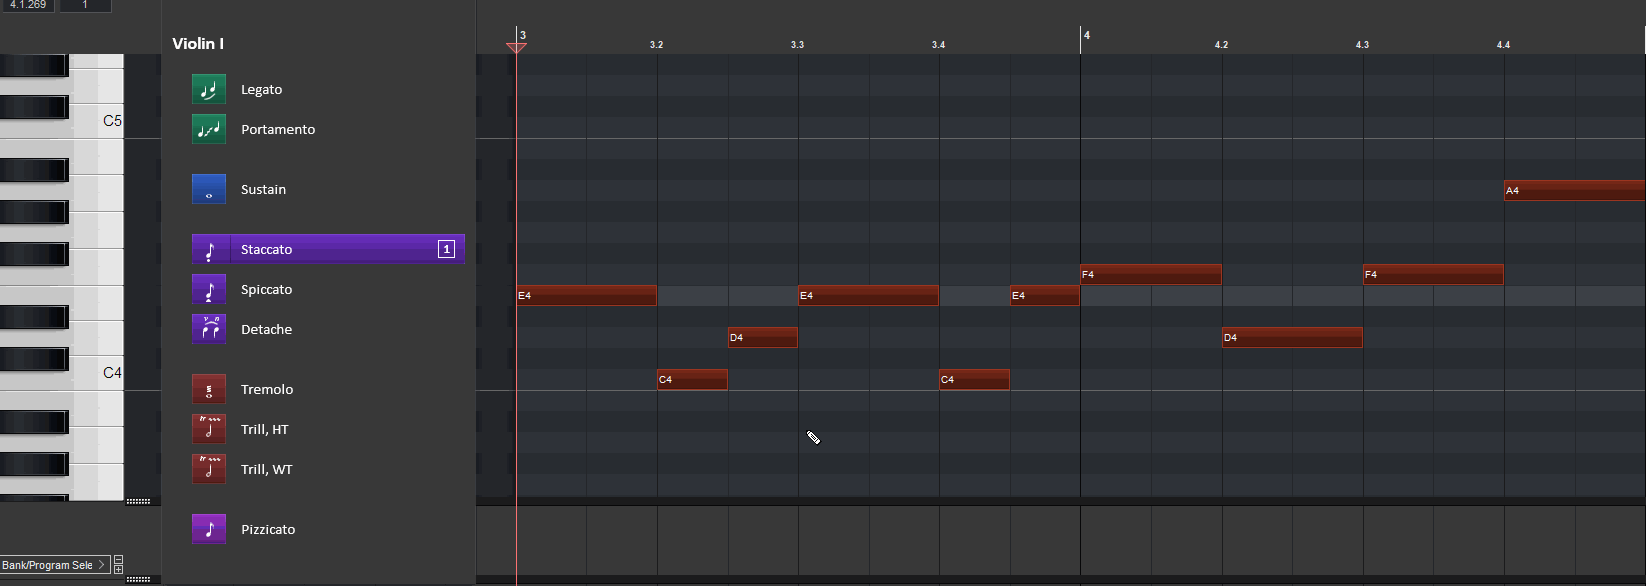
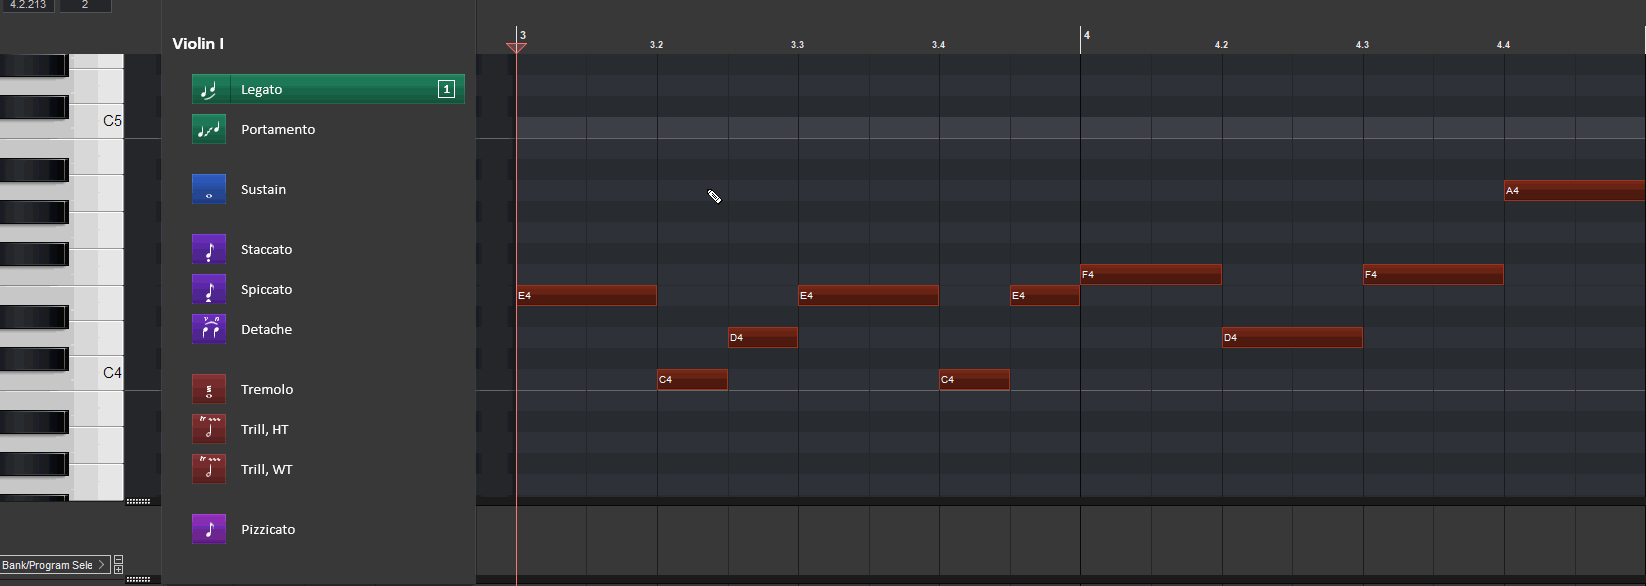
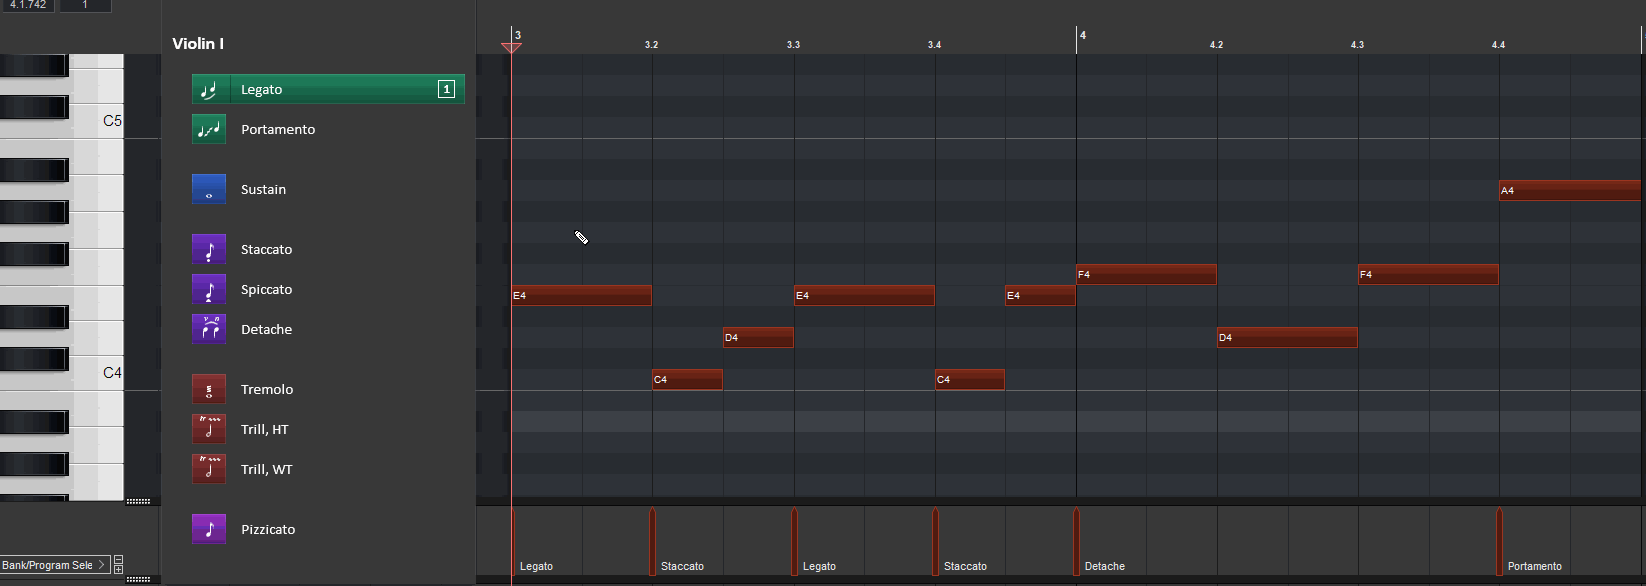
What exactly is the script doing?
Let's turn our attention to the topmost CC Lane - the Bank/Program Select lane:

When the Reaticulate script is loaded up onto a track, you can think of it as turning this lane into the "Articulation Switching Lane". Here's a breakdown of what is happening during the playback shown above:
- When the playhead hits one of the arrows/fence-posts in the Bank/Program Select lane, it triggers whatever MIDI output(s) that articulation has been set to trigger in the Reaticulate.reabank file. In this case, each of these articulations is set to trigger a certain note between C2-A2. The "Legato" articulation triggers note C2, the "Staccato" articulation triggers note D#2, etc.
- Once these notes are triggered, they normally wouldn't do anything since they are outside of the violin's playing range...except for the fact that the sample player is configured to switch articulations upon those notes being triggered. Without Reaticulate, you would have to manually input those notes onto the piano roll one by one. With Reaticulate, this can now be handled exclusively in the Bank/Program Select lane.
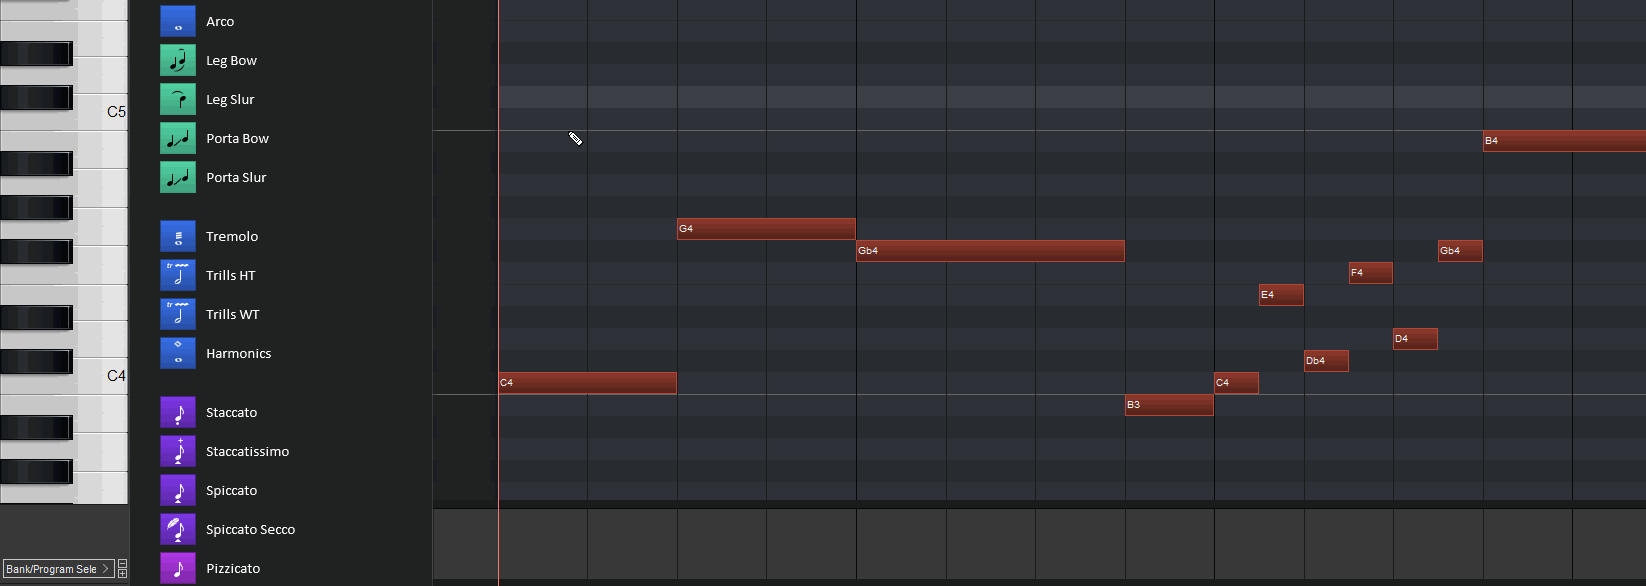
While this example just sends one note per articulation as an output, in many cases sample libraries require multiple simultaneous notes, held notes, velocity differences, CC changes, channel switches, or any mixture of all of those outputs to trigger their vast array of available articulations. Since Reaticulate can trigger up to 16 of these outputs in one "arrow/fence-post", this makes even the most mind-numbingly complex sample library a walk in the park to program.
Preliminary Steps
A bit of set-up before we get started programming:
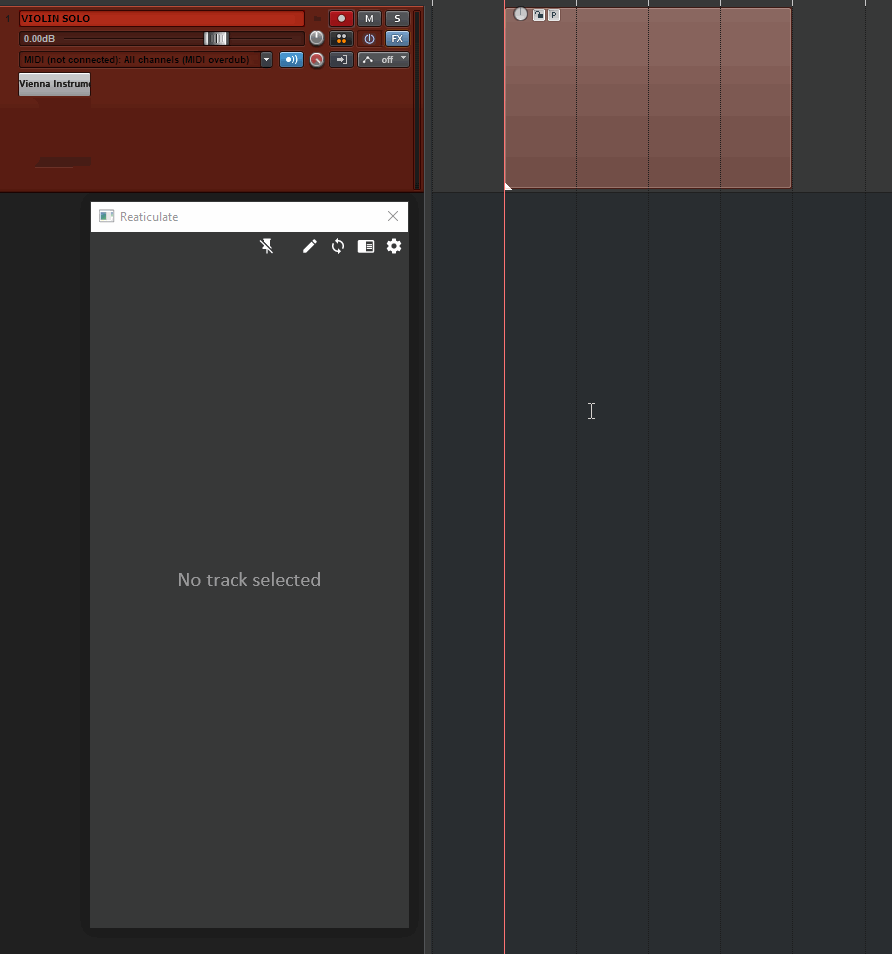
- Start Reaticulate by running the "Reaticulate.Main.lua" action from the Main Action List. (You can set the script to auto-start if you want)
- Move or dock the window wherever fits your workflow. For the following instructions, I'll have mine floating over a docked MIDI editor.
- Make sure the Bank/Program Select lane is visible in the MIDI editor. Otherwise, you won't be able to see where the articulations are applied or edit them.
- Load the bank you want onto the track you want by doing the following:
NOTE: If you look at the FX chain for the track on the TCP, you will see that "Reaticulate.jsfx" is added and automatically moved to the top as soon as you add a bank in the Reaticulate window. This FX needs to stay there in order for the script to work.
Last, but not least, go into the settings...
![]() And make sure the following checkbox is ticked:
And make sure the following checkbox is ticked:
 This setting is necessary for the most efficient methods of articulation entry to work.
Inserting Articulations
When a note is selected, right click or double click the articulation on the Reaticulate window to insert the articulation at the beginning of that note:
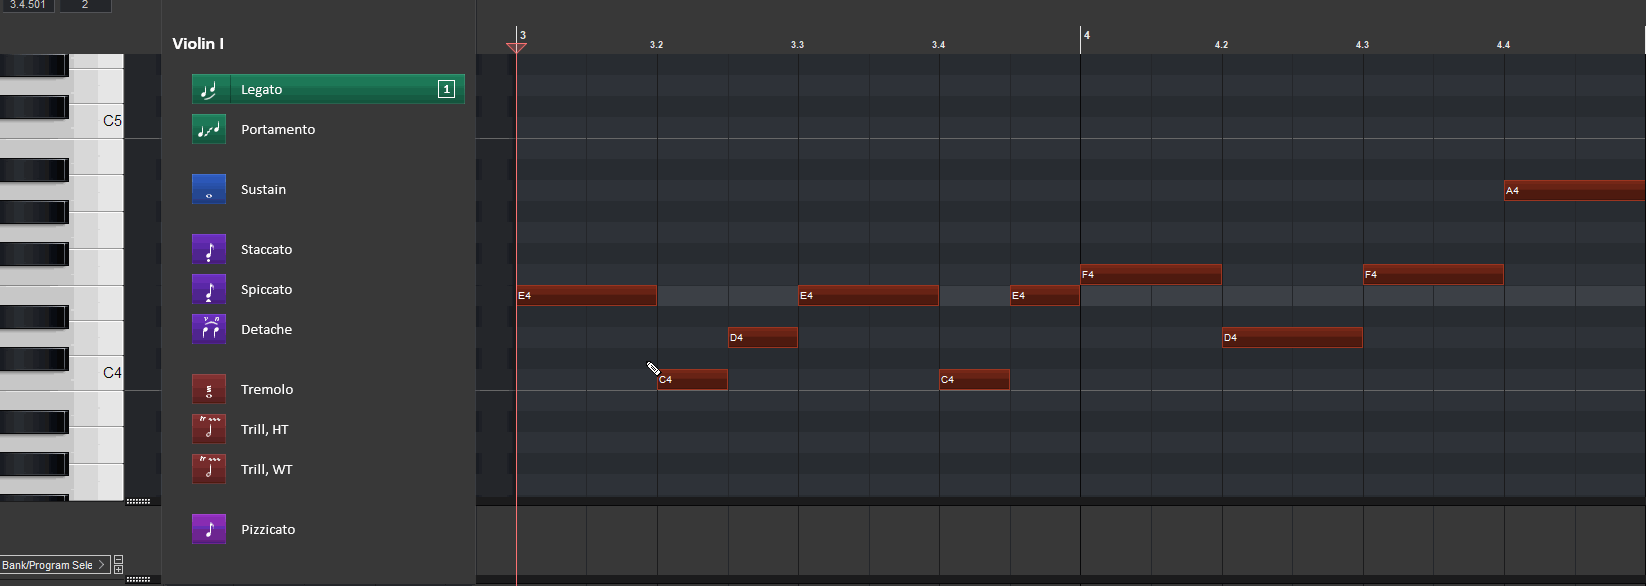
When a group of notes is selected, the articulation will be inserted at the beginning of the first note in the selection:
When a note is not selected, the articulation will be inserted at the location of the edit cursor instead:
Note: if the "Insert articulations based on selected notes when MIDI editor is open" option in the Preferences pane of the Reaticulate window is left unticked, articulations will be inserted at the edit cursor by default.
[New in 5.0] When a note or notes are selected, you can still insert an articulation at the edit cursor by alt-right clicking or alt-double clicking on the articulation:
When multiple notes are selected but the selections are separated by un-selected notes, the articulation will be assigned to the start of each note in the selection. This is an extremely fast way to program complex solo lines, intricate ostinatos, or anything else that requires rapid-fire articulation switching:
If you have a bunch of articulations already inserted across a group of notes, but want to re-assign that group to a new, single articulation instead, simply select the group, add the articulation, and Reaticulate will take care of the rest:

If moving the mouse back and forth feels cumbersome, an alternative is to use keyboard actions such as "Navigate: next note" and "Navigate: previous note" instead:

If necessary, articulations that have already been inserted in the Bank/Program Select lane can be rearranged, like so:

If the "Options: CC selection follows event note selection" toggle is on, the articulations you assign will follow along with any notes you move. Toggle it off to move notes independent of articulations:
[New in 5.0] If you select multiple tracks and insert articulations at the edit cursor, that articulation will be inserted at the same point across all selected tracks. This is a fantastic time-saver when programming large ensembles (such as SATB choir, string orchestra, divisi horns, etc.):
 (Note: This is most applicable when using multiple tracks that use the same bank in Reaticulate. However, this is also useful if each track uses a different bank with matching program numbers for articulations. For example, if you're assigning articulations to four different tracks that are meant to be four different instruments, but each bank's articulations have the same program number (i.e. staccato articulation is 32), Reaticulate will batch-assign the staccato articulation to all the tracks even though they come from different banks. Keep this potential efficiency in mind when creating your own banks.)
Since REAPER is so flexible when it comes to mouse and keyboard behavior, it's entirely possible that you could come up with an even faster and easier way of using this script. If you do, please don't hesitate to share in the comments!
Remember that this guide has only covered basic usage; Reaticulate is capable of much more complex operations, including linking to and being operated by a Control Surface. I highly recommend reading through the full usage guide on the reaticulate website for more information.
- Sam